
Ninja Creami Strawberry Cheesecake Ice Cream
I’m firmly in my Ninja Creami era right now, and my latest favorite recipe is this strawberry cheesecake ice cream! We’re talking about a cream cheese base blended with strawberries, cream, milk, and vanilla, spun until ultra creamy, with crushed vanilla biscuits and extra strawberries mixed in at end. My Ninja Creami chocolate ice cream, strawberry cottage cheese ice cream, Twix ice cream, and Oreo ice cream have become firm reader favorites, and I hope you’ll love this one too!
Why You’ll Love This Recipe
- It tastes like actual strawberry cheesecake instead of just strawberry ice cream with random mix-ins
- The cream cheese gives the base that rich tangy cheesecake flavor while also helping create an extra creamy texture in the Ninja Creami
- No pudding mixes, gums, or weird hard-to-pronounce ingredients. Just simple ingredients that actually make sense in homemade ice cream
- Fresh strawberries keep the flavor bright and real instead of overly artificial or candy-like
What You’ll Need
Note: I always include a printable recipe card at the bottom of the post, complete with ingredients, measurements, and instructions!
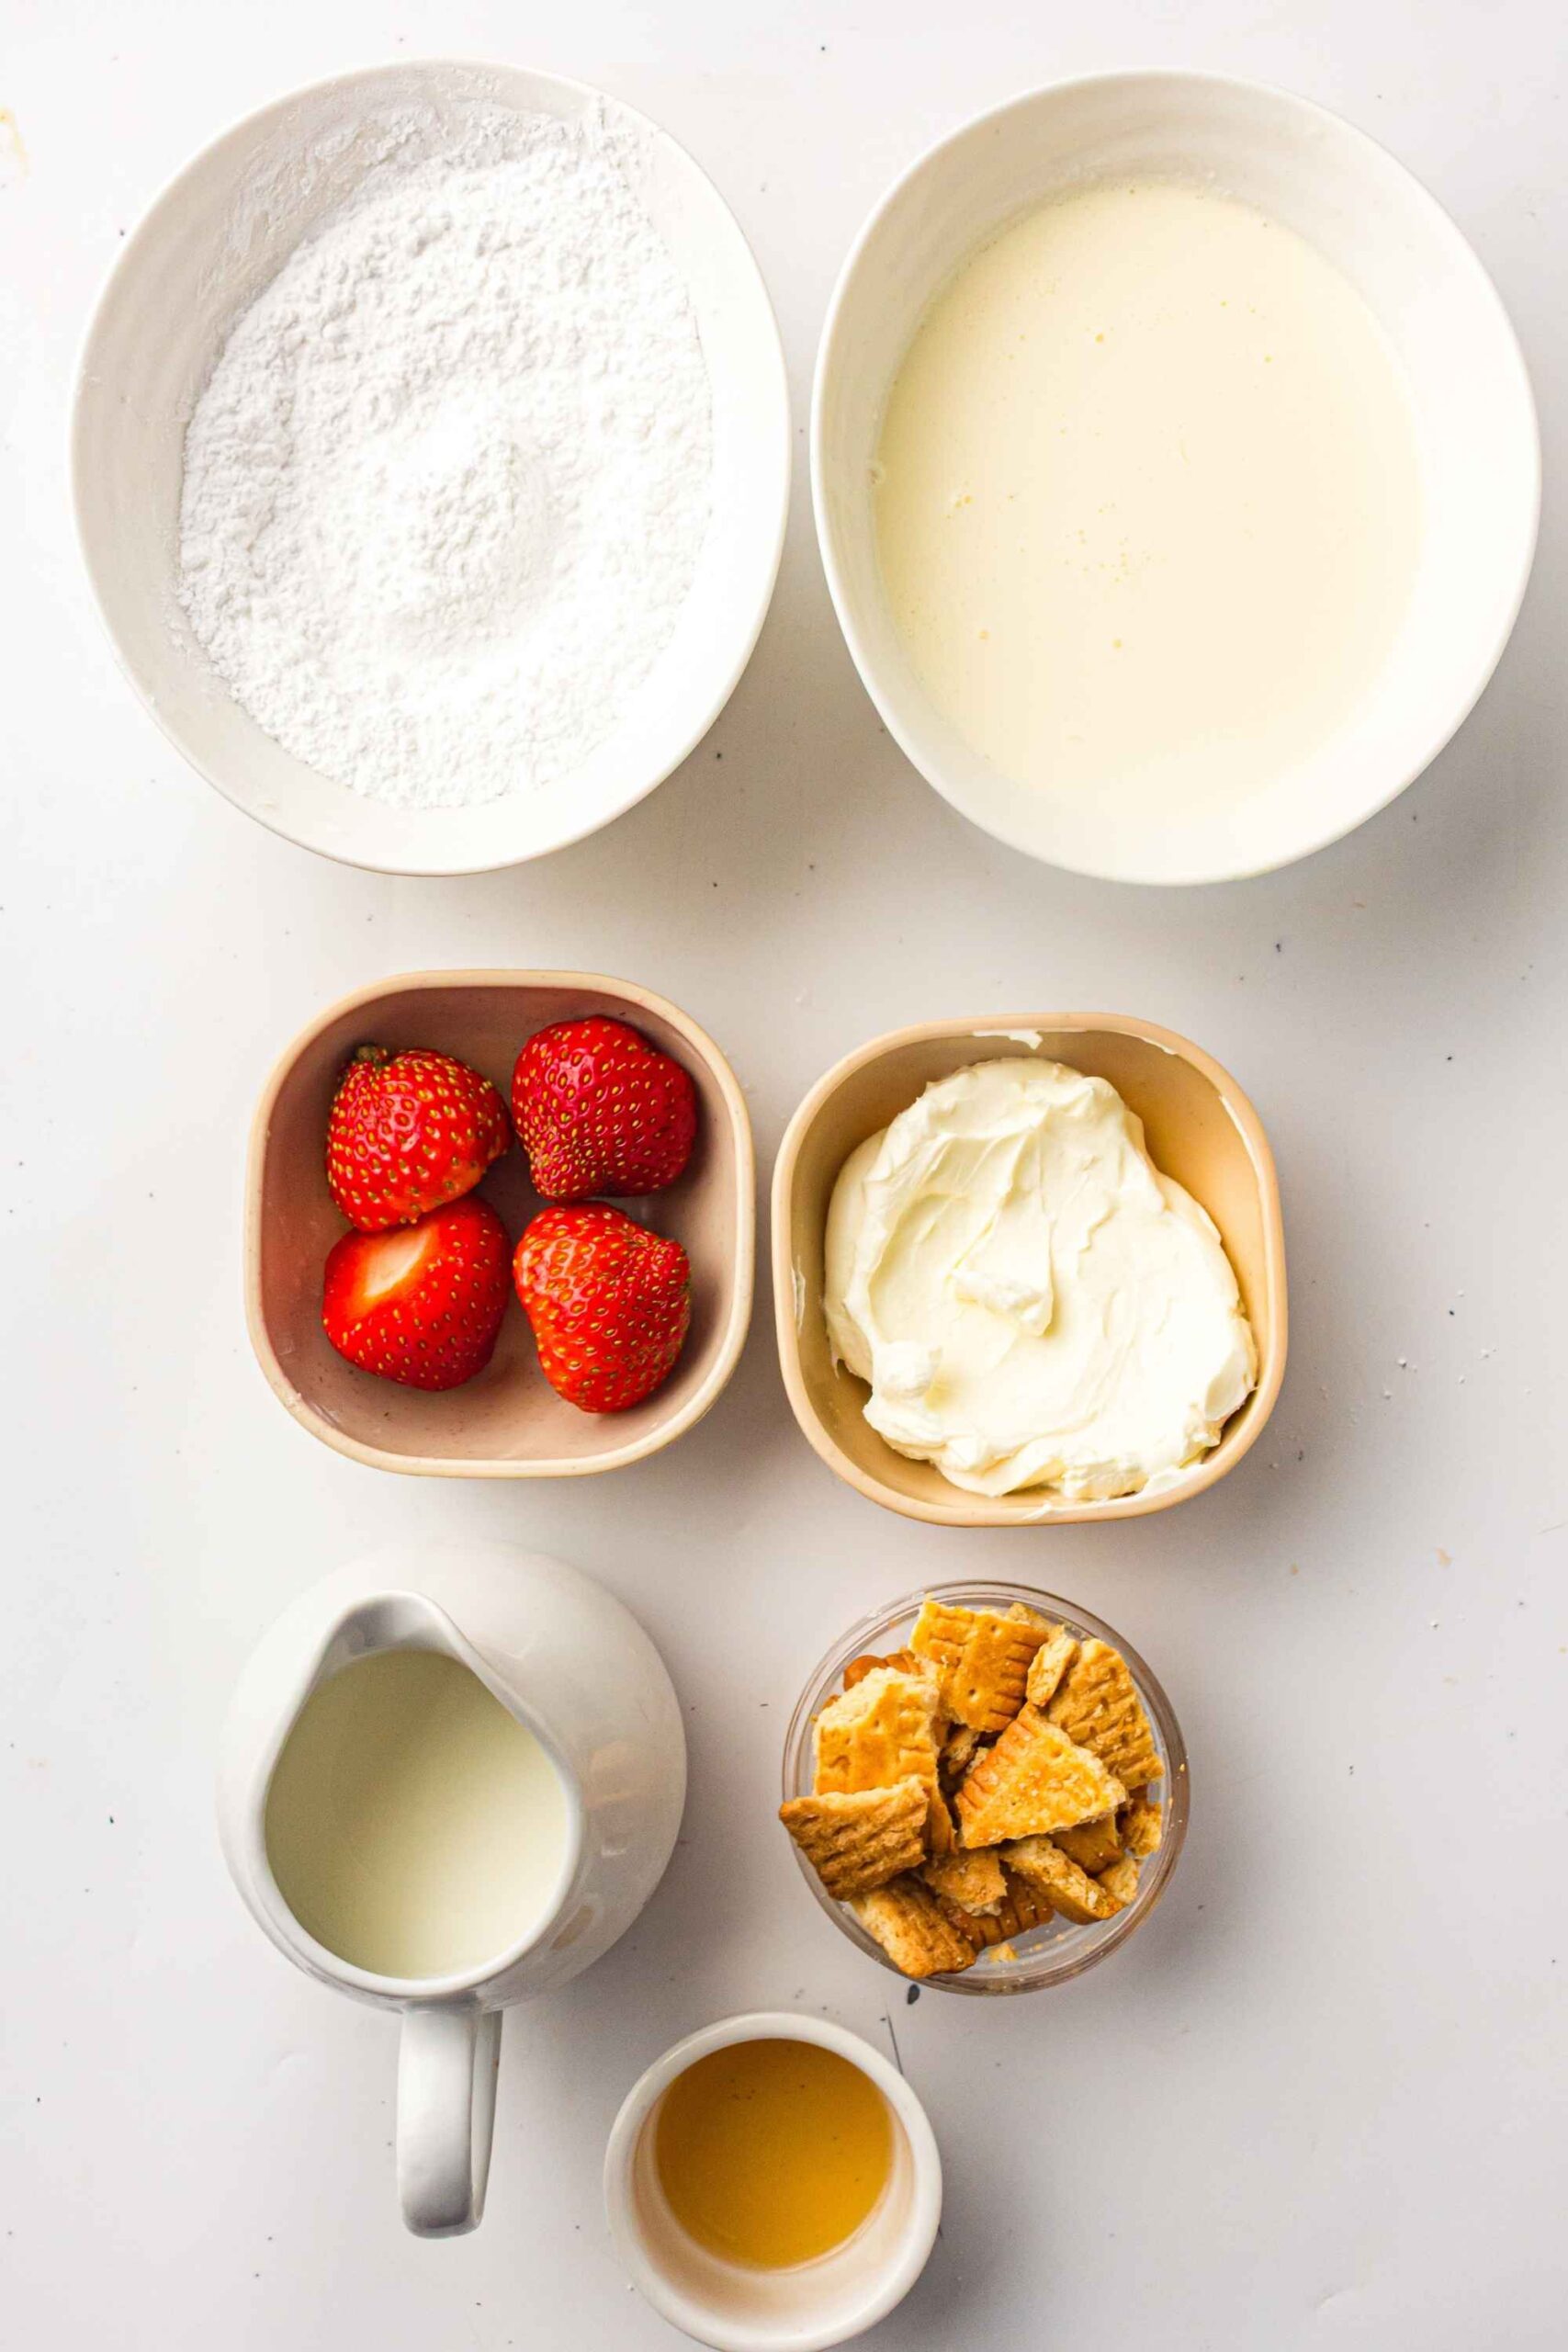
- Whole milk – Helps create a smooth, scoopable ice cream texture without making the base overly heavy.
- Double cream – Adds richness and gives the ice cream that classic creamy cheesecake-style texture.
- Confectioners’ sugar – Sweetens the base while blending smoothly into the mixture.
- Full-fat cream cheese – Gives the ice cream its cheesecake flavor and creamy tangy finish.
- Fresh strawberries – Add bright fruity flavor throughout the ice cream and pair perfectly with the cheesecake base.
- Vanilla extract – Rounds out the flavor and gives the base a little extra warmth.
- Vanilla biscuit – Mixed in for that buttery cheesecake crust flavor and a little texture in every bite.
How To Make Strawberry Cheesecake Ice Cream In The Ninja Creami
- Add the whole milk, double cream, confectioners’ sugar, cream cheese, vanilla extract, and ½ cup of the strawberries to a blender.

- Blend until completely smooth and creamy with no lumps of cream cheese remaining.
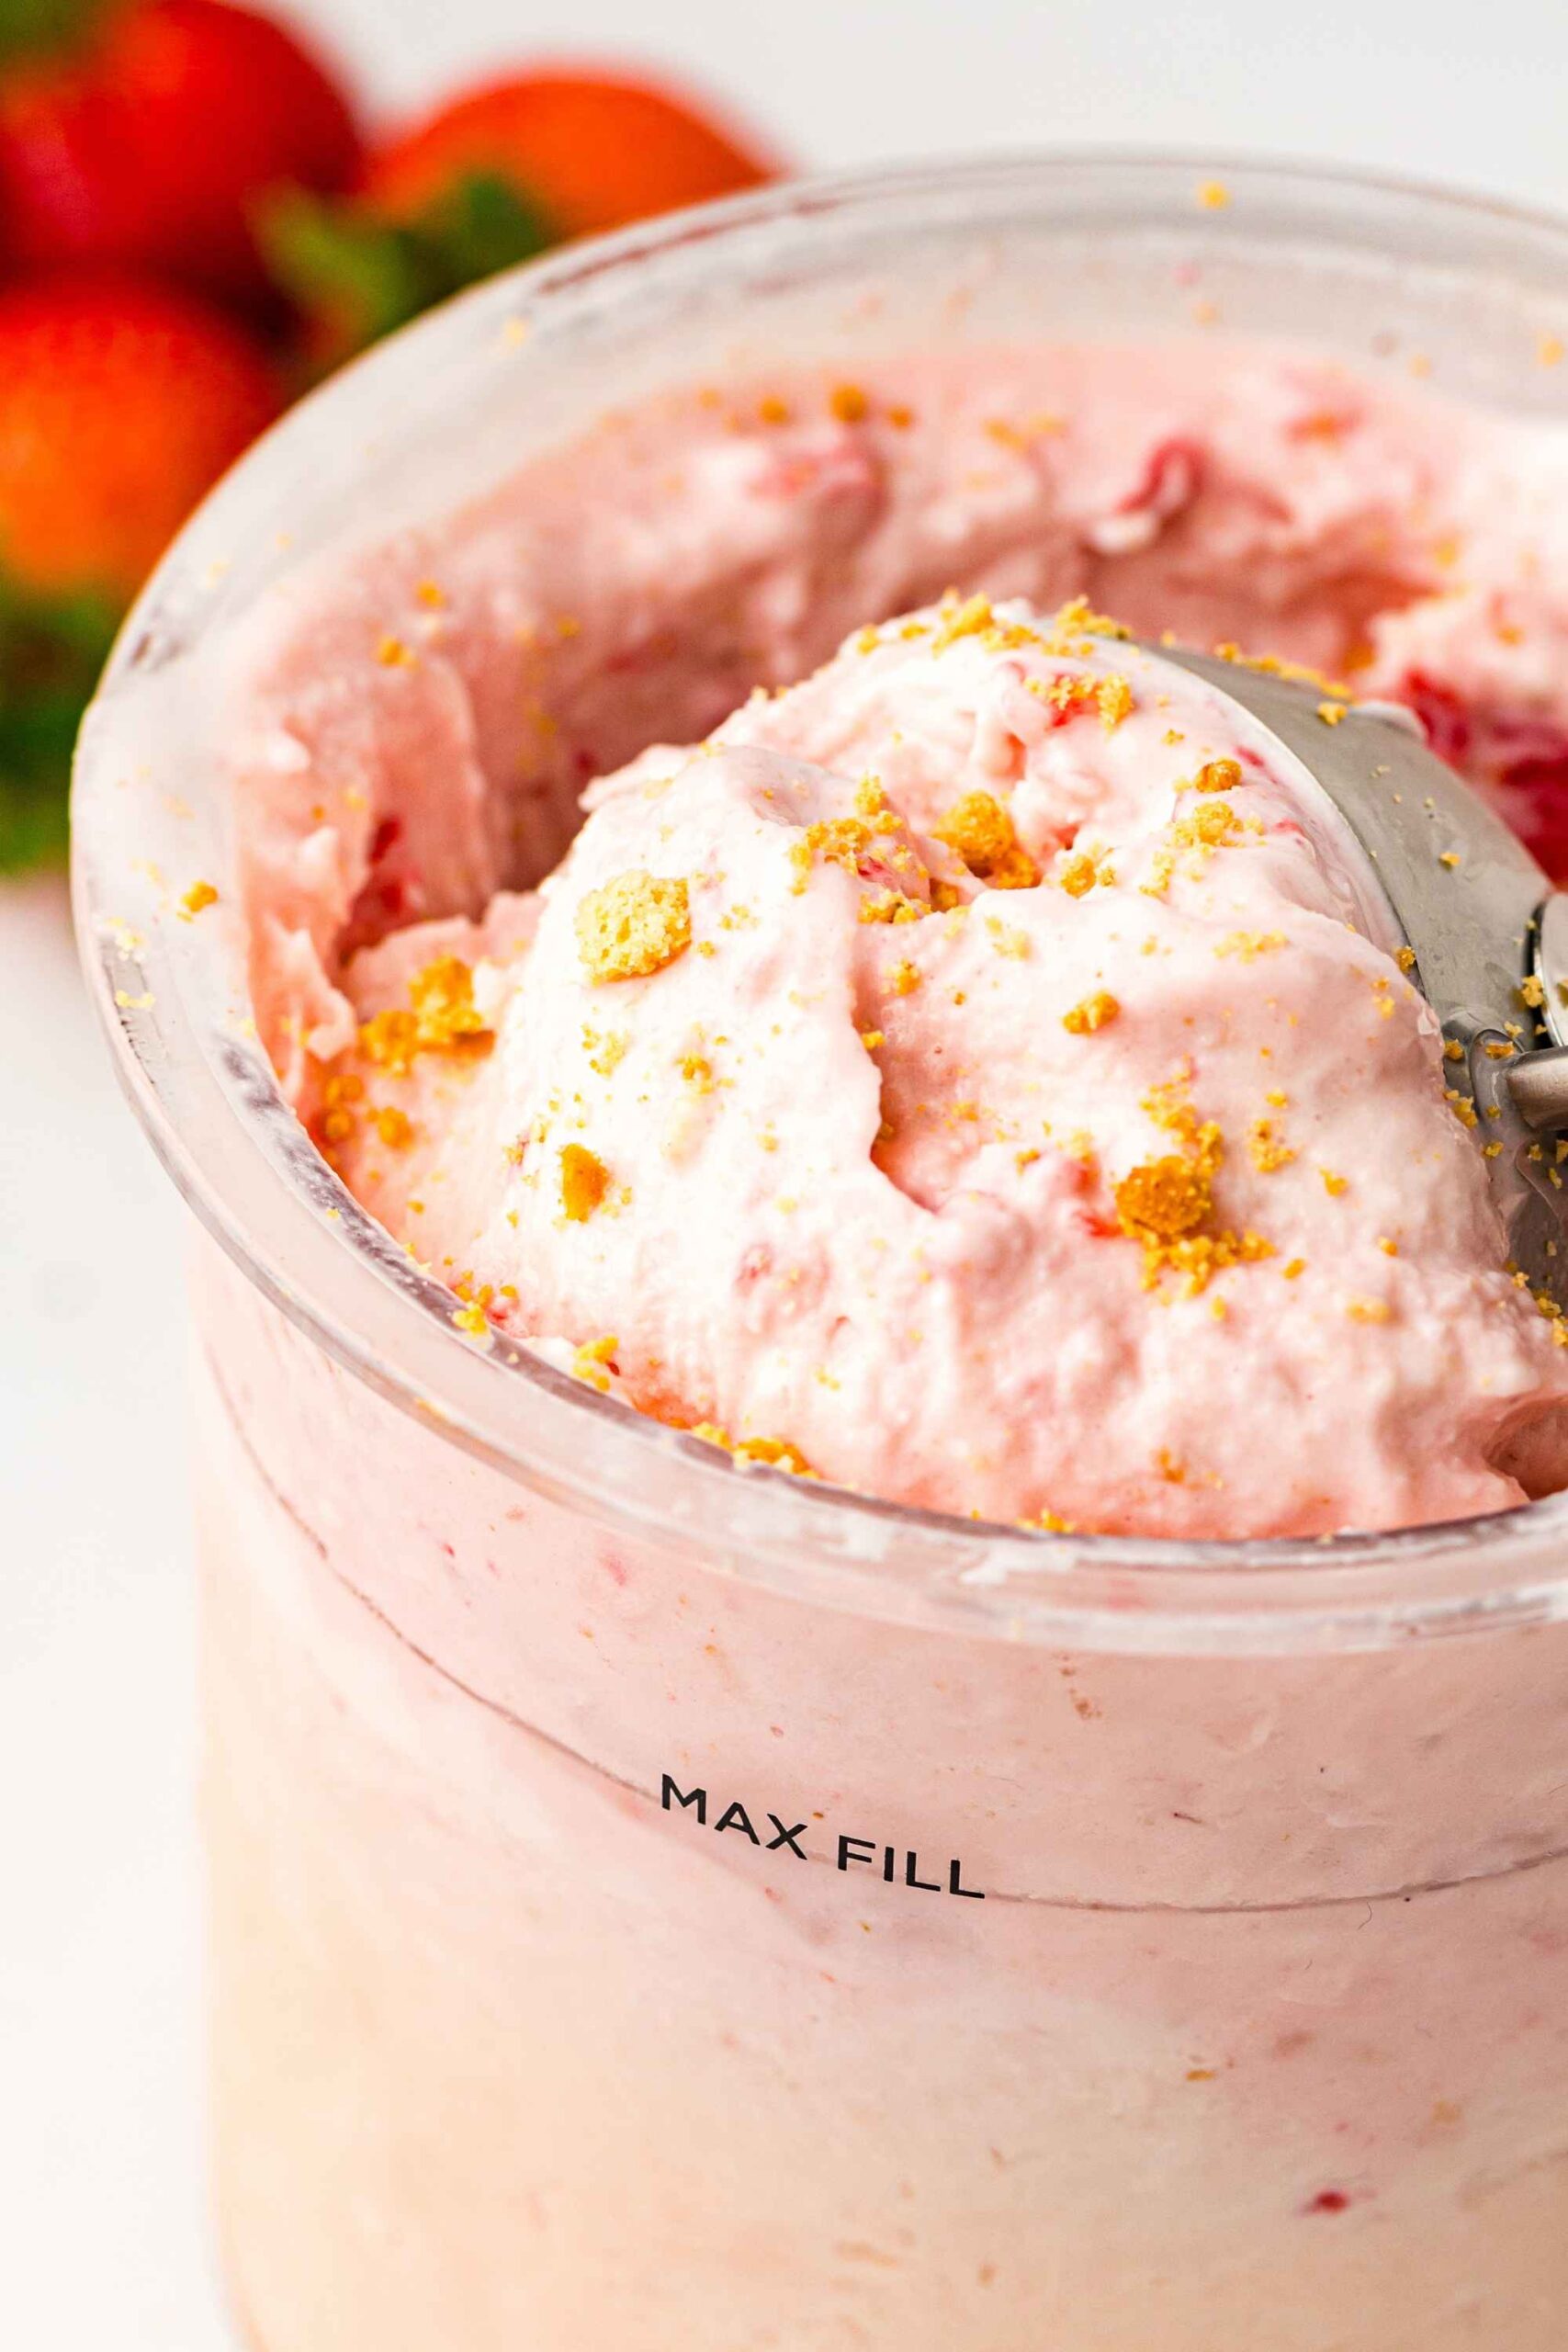
- Pour the mixture into a Ninja Creami pint container, making sure not to fill past the max fill line.

- Freeze the pint on a flat surface for 24 hours until fully solid.
- Once frozen, place the pint into the Ninja Creami machine and run the Ice Cream cycle.
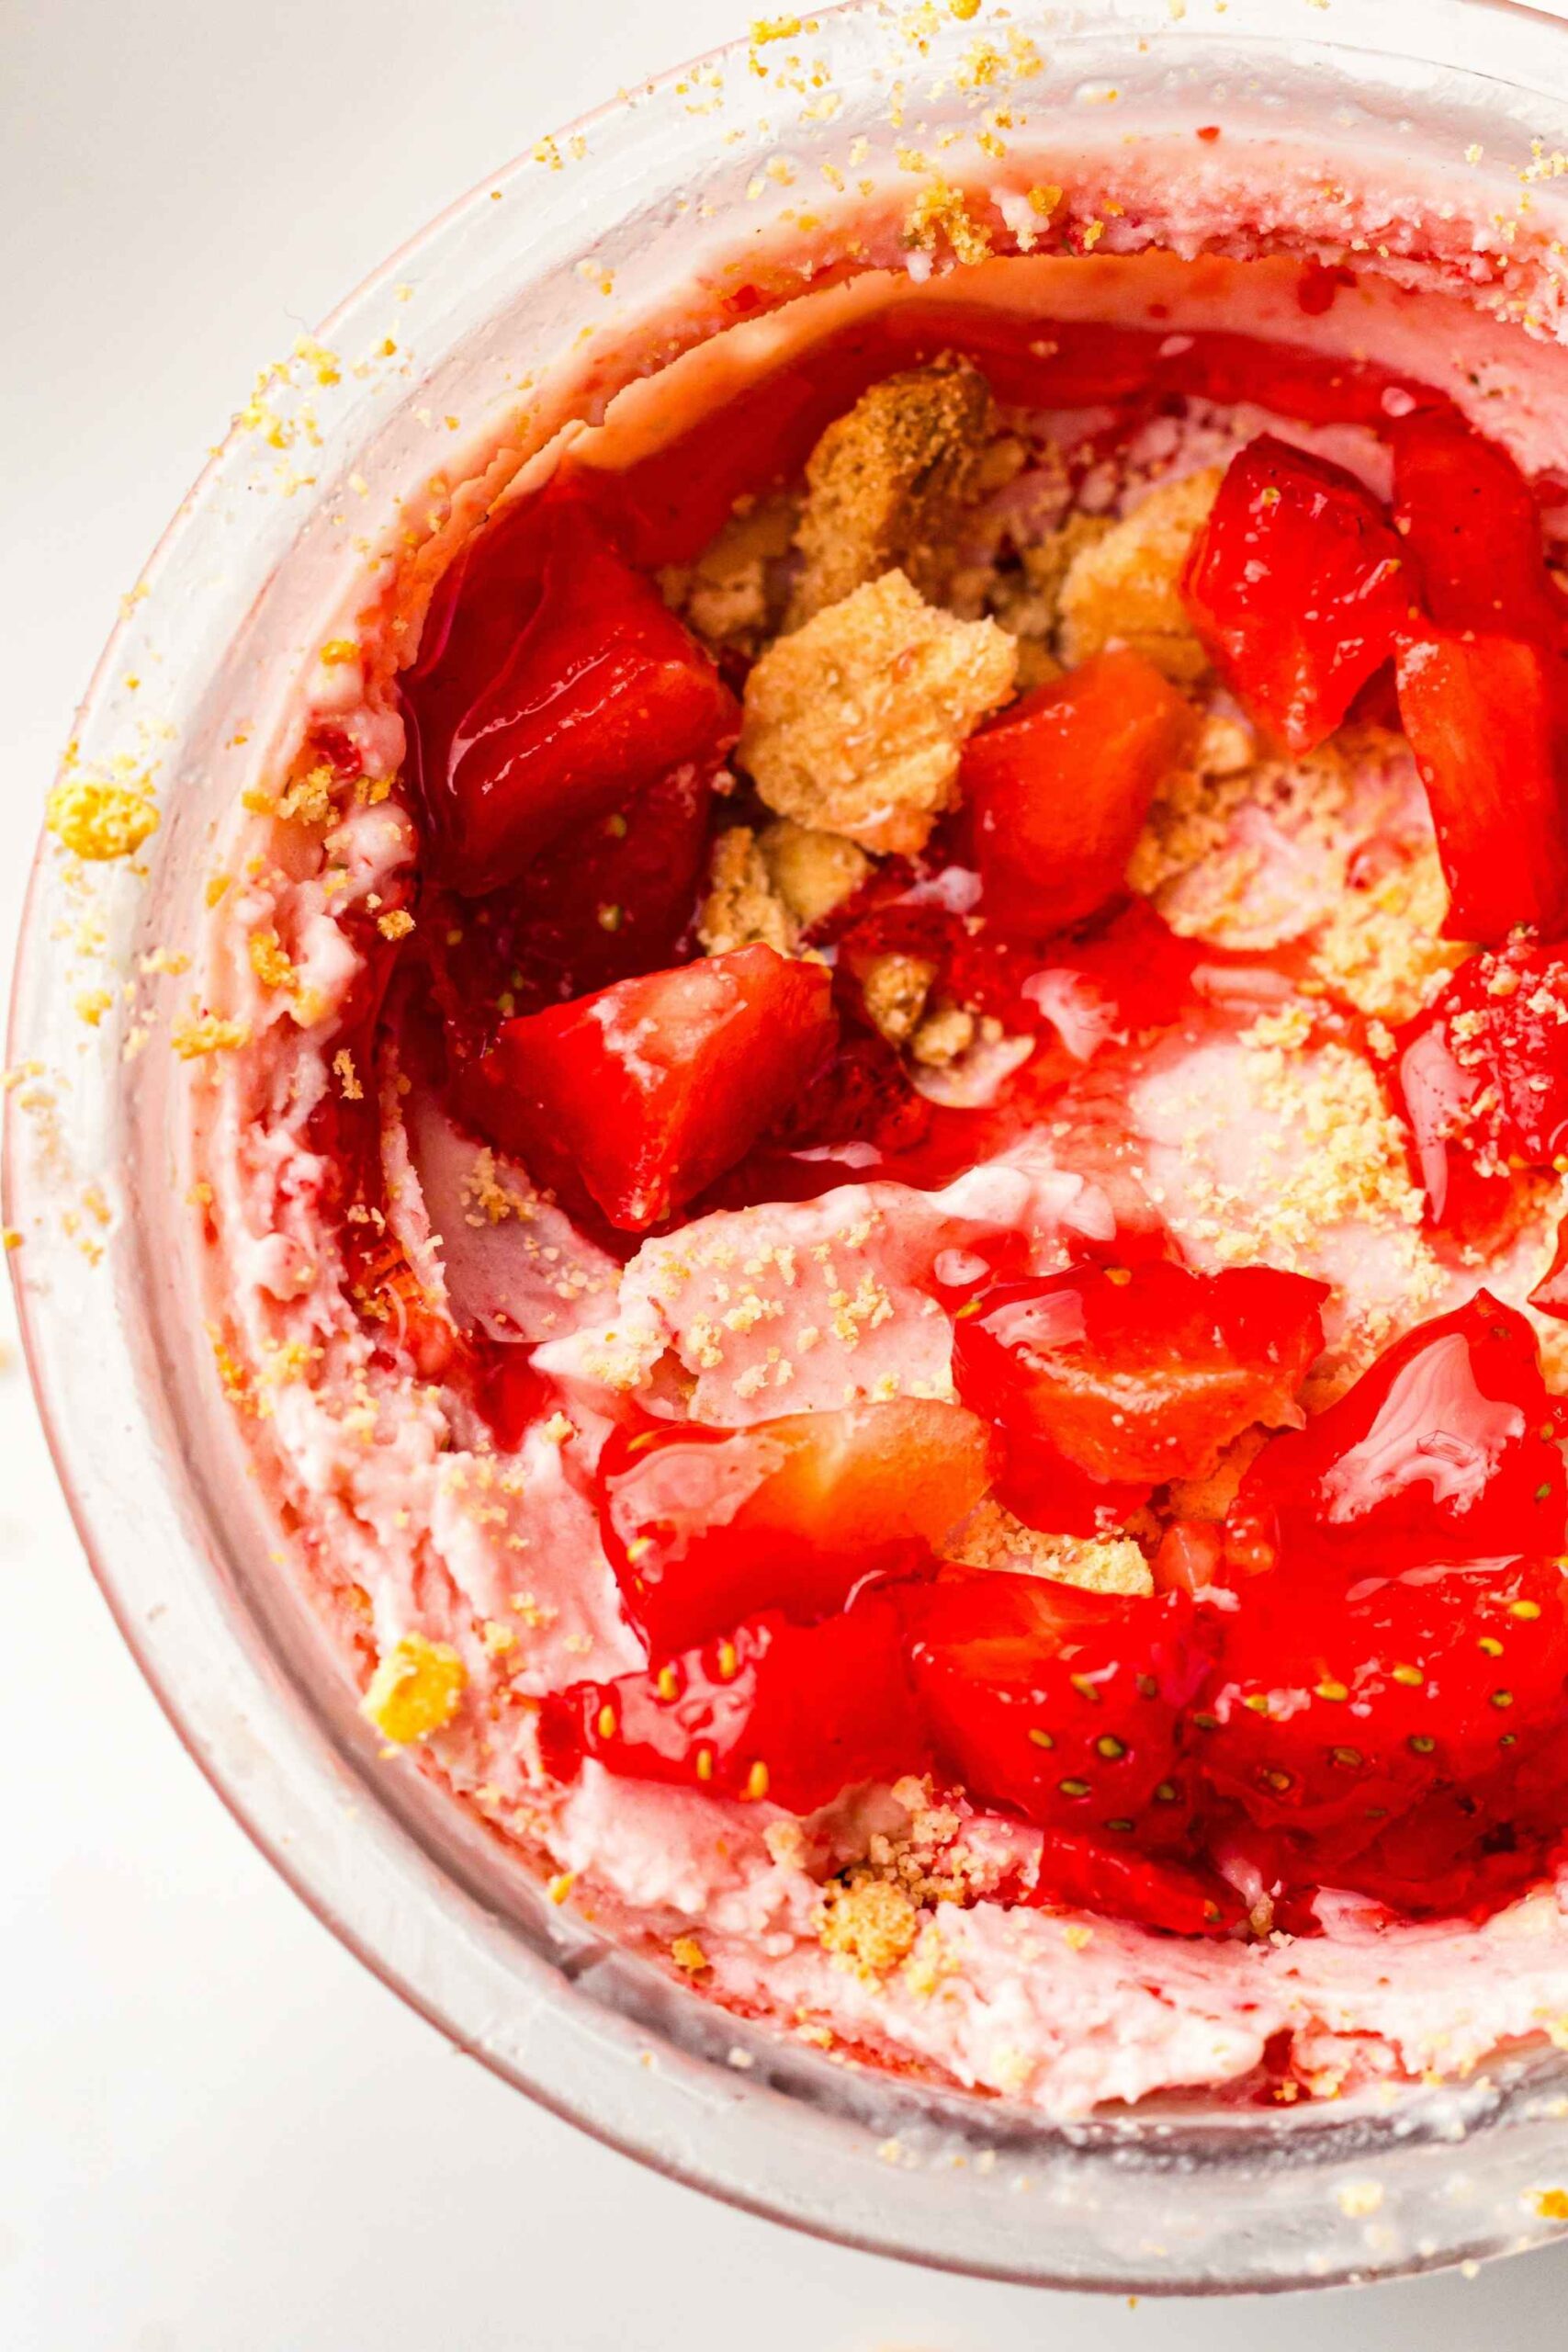
- After the first spin, make a small well in the center of the ice cream and add half of the crushed biscuits along with the remaining chopped strawberries.

- Run the Mix-In cycle to swirl everything through the ice cream.
- Scoop into bowls and finish with the remaining biscuit crumbs and extra strawberries on top before serving.

Storage
I always think that Ninja Creami ice cream is at its best when it’s freshly spun, but of course you can put it back in the freezer if you don’t want to eat the full pint in one go. Store in the Ninja Creami pint container with the lid on for up to 2 weeks in the freezer.
If the leftovers freeze very firm, let the pint sit at room temperature for about 5–10 minutes before scooping to soften slightly.

Recipe Notes
Make sure the pint freezes for the full 24 hours before spinning. If the base isn’t completely solid all the way through, the texture won’t turn out properly once spun.
Freezing the pint on a completely flat surface helps the machine process the ice cream evenly during the spin cycle, so just double check when you put it in the freezer.
Use full-fat cream cheese for the best cheesecake flavor and creamiest texture. Lower-fat versions can sometimes make the texture a little thinner or icier.
If the ice cream looks crumbly after the first spin, don’t panic. It happens sometimes! A quick re-spin usually fixes it right away, and I usually add a splash of milk to help it along.
Fresh strawberries work best for the brightest flavor and texture, especially in the mix-ins.
Try not to overfill the pint container. Leaving a little room at the top helps prevent overflow during spinning and mixing.
Don’t skip the biscuit mix-in at the end. That buttery crunch is what really gives the ice cream that strawberry cheesecake feel instead of just strawberry ice cream.

Serving Ideas
This strawberry cheesecake ice cream is especially good topped with extra crushed vanilla biscuits, fresh strawberries, and a little whipped cream for full cheesecake vibes!
For more of a dessert feel, serve it with strawberry sauce, white chocolate drizzle, or between cookies for homemade ice cream sandwiches.
It’s also really good scooped into waffle cones or served alongside a slice of pound cake or cheesecake if you’re leaning fully into the dessert situation.
Ninja Creami Strawberry Cheesecake Ice Cream
Ingredients
- 1 cup whole milk
- ¾ cup heavy cream
- ⅓ cup confectioners’ sugar
- ½ cup full-fat cream cheese softened
- 1 cup chopped fresh strawberries
- ½ tsp vanilla extract
- 1 small vanilla biscuit crushed (for swirl/topping)
Instructions
- Add the whole milk, double cream, confectioners’ sugar, cream cheese, vanilla extract, and ½ cup of the strawberries to a blender.
- Blend until completely smooth and creamy with no lumps of cream cheese remaining.
- Pour the mixture into a Ninja Creami pint container, making sure not to fill past the max fill line.
- Freeze the pint on a flat surface for 24 hours until fully solid.
- Once frozen, place the pint into the Ninja Creami machine and run the Ice Cream cycle.
- After the first spin, make a small well in the center of the ice cream and add half of the crushed biscuits along with the remaining chopped strawberries.
- Run the Mix-In cycle to swirl everything through the ice cream.
- Scoop into bowls and finish with the remaining biscuit crumbs and extra strawberries on top before serving.
If you try this one, pop a review and a rating below!