
Instant Pot Hard-Boiled Eggs
I make these almost every week! Having a batch of hard-boiled eggs in the fridge makes breakfasts and lunches so much easier, and the Instant Pot gives me consistently good results every time. The shells are usually much easier to peel than stovetop eggs, and I don’t have to stand over a pan wondering if they’re done yet. Let me show you my foolproof method!
More Instant Pot favorites to try: Instant Pot oatmeal, Instant Pot chicken & rice, Instant Pot beef stew, Instant Pot mac & cheese.
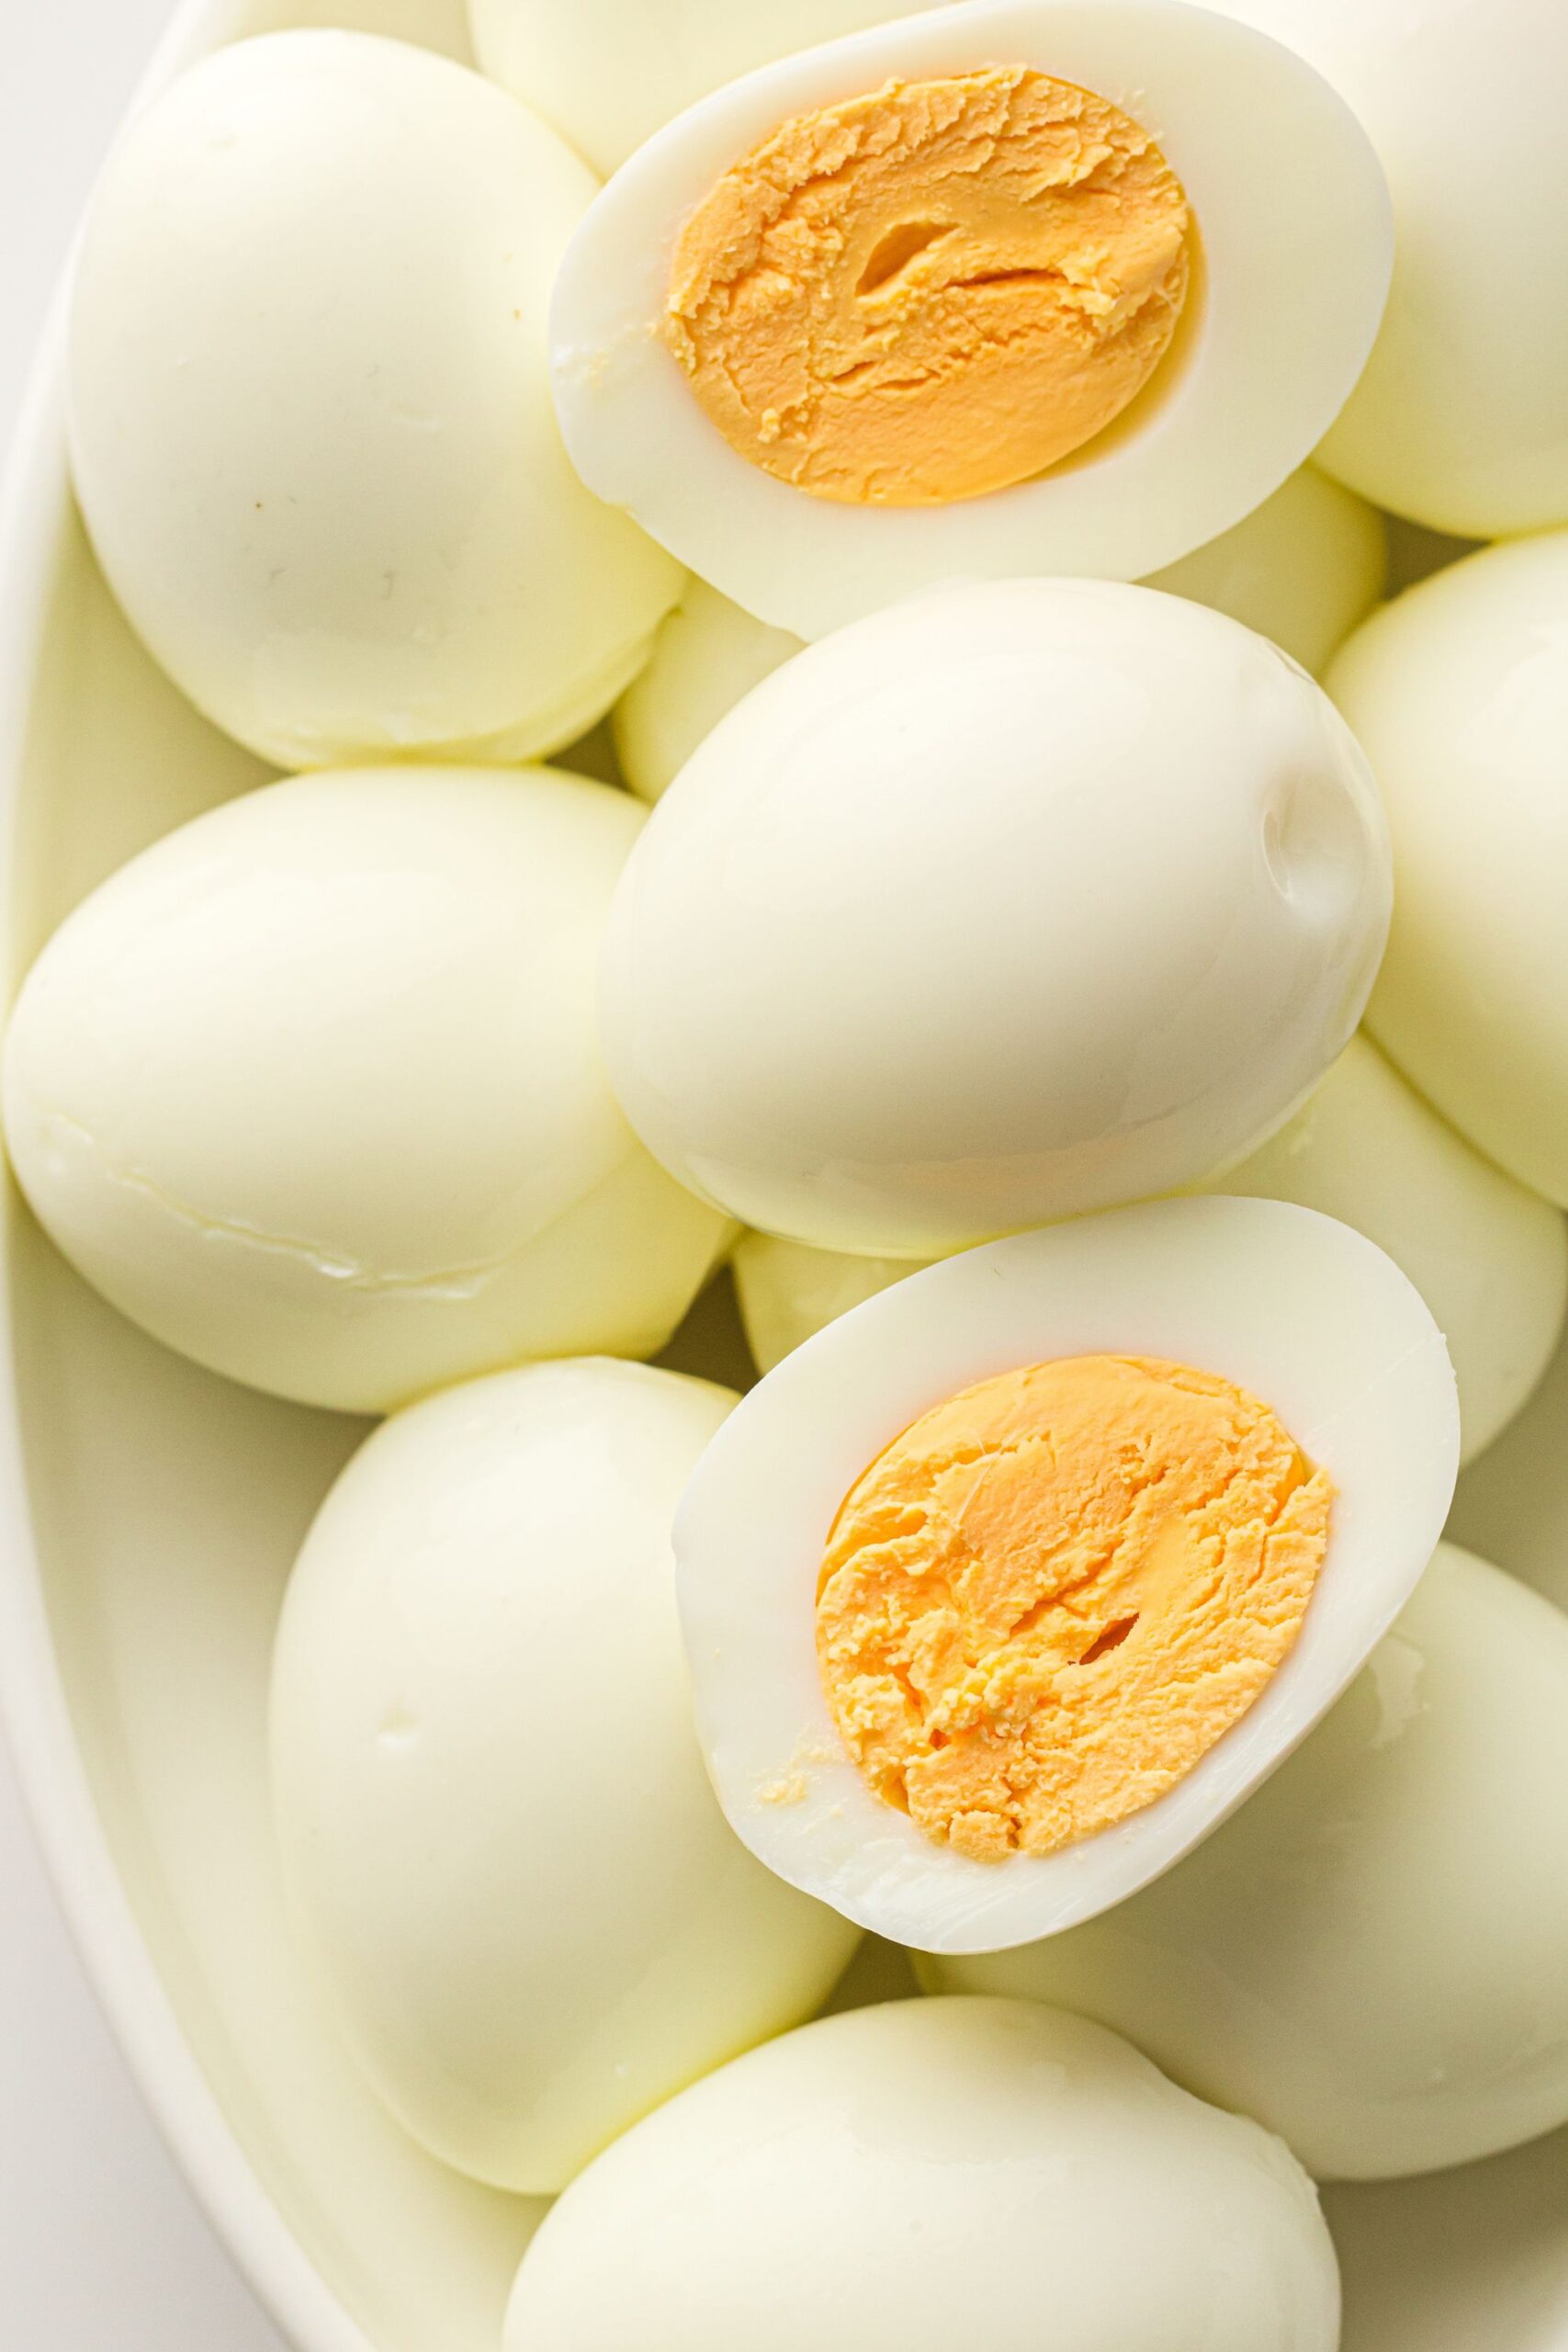
As always, I carefully tested this recipe to ensure the absolute best possible results for you every single time. Yes, they’re technically just eggs. But I find that sometimes the simplest recipes can be the trickiest to get just right.
The timing that gave me the best results was the classic 5-5-5 method: 5 minutes at High Pressure, a 5-minute natural release, then straight into an ice bath for 5 minutes. I’ve used it with both fresh eggs and older ones, and it gives reliably firm yolks with shells that peel cleanly much more often than they do with stovetop-boiled eggs.

Overview
This recipe couldn’t be much simpler. You’ll just need large eggs and 1 cup of water. The water never touches the eggs – it simply creates the steam needed for pressure cooking. You can cook anywhere from 6 to 12 eggs at once, which makes this a handy recipe if you’re meal prepping for the week.

Recipe Notes & Tips
- Use eggs straight from the fridge: There’s no need to bring them to room temperature. Cold eggs work perfectly with this method.
- Don’t skip the ice bath: Transferring the eggs straight into ice water stops them cooking any further and helps the shells peel much more cleanly.
- The 5-5-5 method is easy to remember: Five minutes at High Pressure, a 5-minute natural release, then 5 minutes in an ice bath gives consistently hard-boiled eggs with fully set yolks.
- Fresh eggs are fine: One of the biggest advantages of the Instant Pot is that even very fresh eggs usually peel far more easily than when they’re boiled on the stovetop.
- Cook more while you’re at it: Whether you’re making 6 eggs or filling the rack with 12, the cooking time stays the same, so it’s worth making a batch for lunches, salads, and quick breakfasts throughout the week.

Using Up Your Eggs
Of course, they’re hard-boiled eggs. You don’t need me to tell you what to do with them! But I’ve found that having a batch in the fridge means I’m far more likely to reach for them. They’re an easy way to add a little extra protein to the day, and having them ready to go often makes me think of meals I wouldn’t have bothered making otherwise.
Slice them onto toast for breakfast, tuck them into sandwiches or lunch boxes, chop them into salads, or simply sprinkle them with a little salt, black pepper, paprika, or your favorite hot sauce for a quick snack.
Storage & Reheating
Store peeled or unpeeled hard-boiled eggs in an airtight container in the refrigerator for up to 1 week.
If you prefer to eat them warm, place the eggs in a bowl of hot (not boiling) water for 2 to 3 minutes before serving. This gently warms them through without overcooking the yolk.

Instant Pot Hard-Boiled Eggs
Ingredients
- 6 large eggs or up to 12
- 1 cup water
Instructions
- Place the trivet or steamer rack inside the Instant Pot and pour 1 cup of water into the bottom of the pot.
- Arrange the eggs in a single layer on the trivet.
- Secure the lid and set the valve to Sealing. Cook on High Pressure for 5 minutes.
- Once the cooking time is up, let the pressure naturally release for 5 minutes, then carefully release any remaining pressure.
- Immediately transfer the eggs to a bowl of ice water and leave them for 5 minutes.
- Peel and serve straight away, or refrigerate for later.
If you’ve tried this method, don’t forget to leave a quick review and star rating below!