
Ninja Creami Chocolate Frozen Yogurt
If you’re looking for a lighter yet deliciously indulgent treat to make in your Ninja Creami, this chocolate frozen yogurt comes highly recommended – I probably say this too often, but this one has definitely become one of my favorites!
With just 4 simple ingredients, and no pudding mixes or artificial sweeteners, it’s super easy to prepare and it’s higher in protein and lower in calories than traditional ice cream options.
It’s also totally delicious. Honestly, I really didn’t expect to love this frozen dessert quite as much as I do. Chocolate ice cream isn’t one of my favorites, but I was keen to experiment with some lighter options in my Ninja Creami. I personally think this is way better than chocolate ice cream – it’s still wonderfully creamy, and the yogurt gives a subtle tang that reminds me of chocolate cheesecake. Plus, it’s a guilt-free choice that’s perfect for when you want a healthier dessert!
Ingredients
- Greek-style natural yogurt: I use Fage 5%, and I find that it’s the perfect consistency for making frozen yogurt. You could substitute for a fat free variety, but the result will likely be a lot less creamy! Make sure that you pick up plain yogurt, and not flavored.
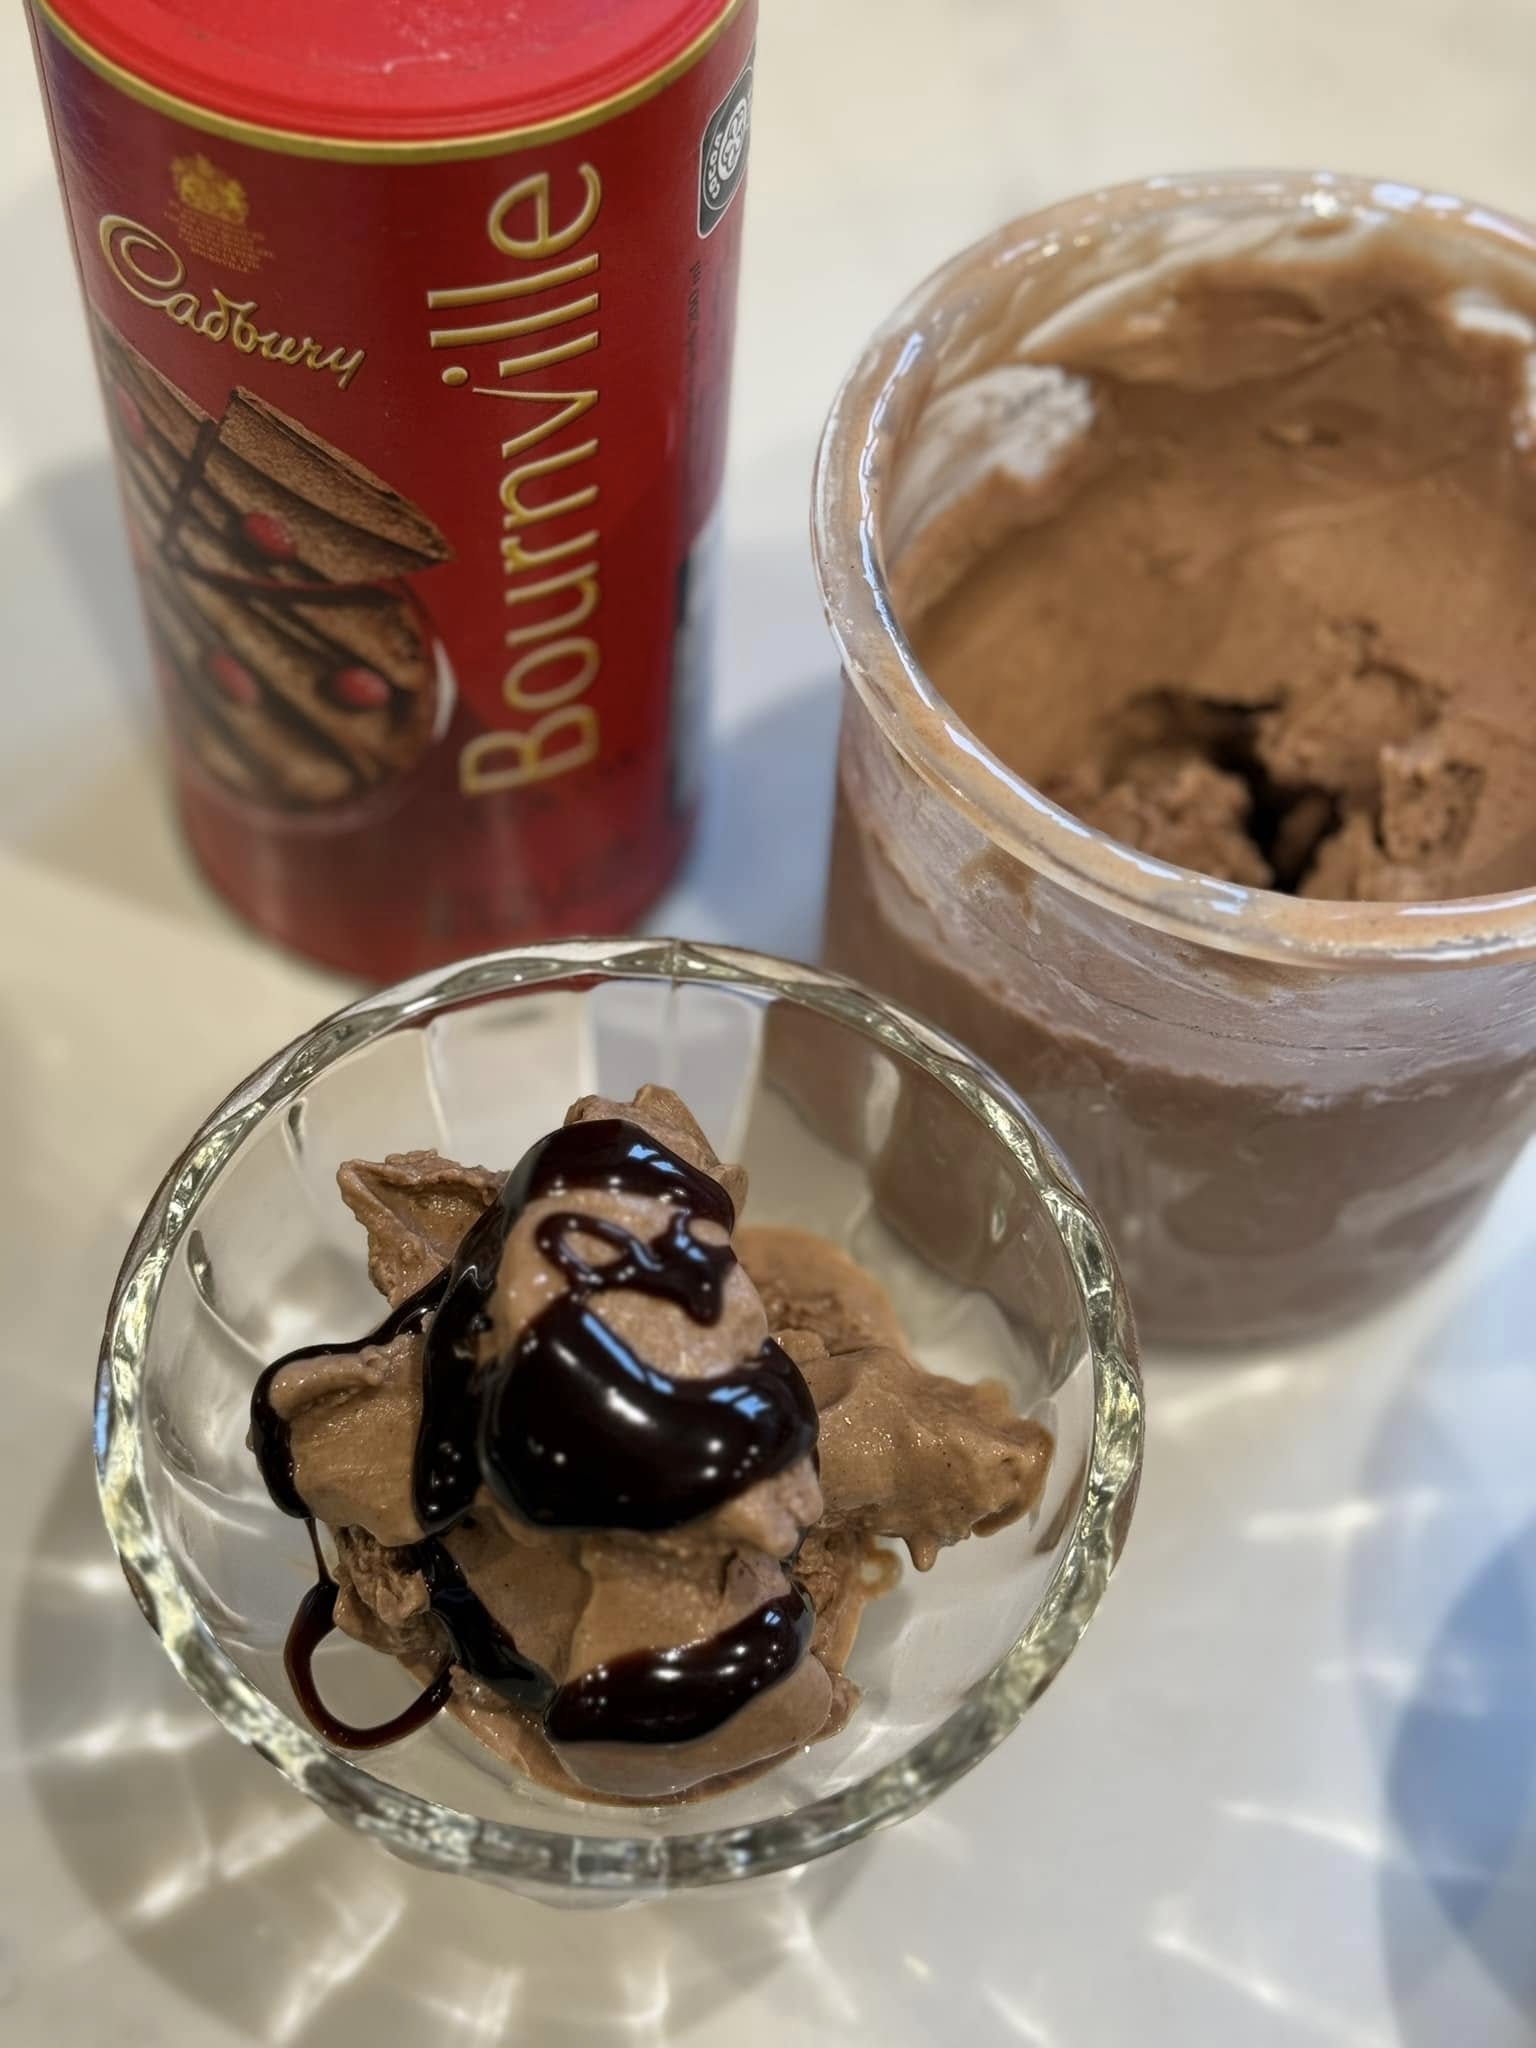
- Cocoa powder: Cadbury’s Bournville is my go-to choice.
- Granulated sugar: If you like, you can substitute for your favorite sweetener.
- Vanilla extract: This is optional, but I find that it really helps balance the flavor of the finished ice cream, and it just accentuates the sweetness a little further!

Step-by-Step Instructions for Making Chocolate Frozen Yogurt in Your Ninja Creami
Want to just grab a printable recipe card and get started with your frozen yogurt? No worries – you’ll find that at the bottom of this post! Here, I’m going to walk you through the steps with some extra snaps, in case you prefer to see a visual guide.
- In your Ninja Creami tub, add the yogurt, cocoa powder, and sugar, and stir well to combine. You can use a separate mixing bowl if you prefer, but I like to cut down on washing up! Make sure that the mixture doesn’t exceed the fill line on your tub.

- Taste test your mixture, and if desired, add the vanilla extract and stir through. I recommend adding just a little bit at a time and adjusting as required. Use a spoon to scoop any mixture down off the sides of your tub.

- Secure the lid, and place on a completely flat surface in the freezer for 24 hours.
- Remove from the freezer. It’ll look something like this at this stage:

- Spin on the ‘Ice Cream’ setting of your Ninja Creami. Note that if you’re using a fat-free yogurt variety, you should use the ‘Lite Ice Cream’ setting instead.

- If it’s a little crumbly, add a splash of milk and re-spin once or twice until it’s at your desired consistency.

- Serve, and enjoy! If you like, add a drizzle of chocolate sauce, fresh fruit, or chocolate chips as a topping.
FAQs About Making Chocolate Frozen Yogurt in The Ninja Creami
- Why did my frozen yogurt come out crumbly?
If it’s crumbly after the first spin, don’t worry—it’s normal! Just add a splash of milk, then use the Re-Spin function for a smoother texture.
- How can I make it extra chocolatey?
Use extra cocoa powder for a deeper chocolate taste. You can also add chocolate chips or chopped dark chocolate during the Mix-In cycle. Or, stir in a swirl of chocolate syrup before freezing for extra richness!
- Do I really need to freeze the mixture for 24 hours?
Yes! I know this is sometimes the most frustrating part of making ice creams and frozen treats in the Ninja Creami, but there’s really no shortcut in this respect. For the best results, you do need to freeze your pints for the full 24 hours.
- Can I add mix-ins?
Definitely! Once spun, make a well in the center of the pint and add your choice of:
- Mini chocolate chips
- Crushed Oreos
- Chopped nuts
- Marshmallows for a Rocky Road twist
Then, run the Mix-In cycle to evenly incorporate them.


Ninja Creami Chocolate Frozen Yogurt
Ingredients
- 1 3/4 cups natural yogurt
- 1/2 cup granulated sugar
- 3 tbsp cocoa powder
- 1 tsp vanilla extract optional
Instructions
- In your Ninja Creami tub, add the yogurt, cocoa powder, and sugar, and stir well to combine.
- Taste test your mixture, and if desired, add the vanilla extract and stir through.
- Secure the lid, and place on a completely flat surface in the freezer for 24 hours.
- Remove from the freezer.
- Spin on the 'Ice Cream' setting of your Ninja Creami. Note that if you're using a fat-free yogurt variety, you should use the 'Lite Ice Cream' setting instead.
- If it's a little crumbly, add a splash of milk and re-spin once or twice until it's at your desired consistency.
- Serve, and enjoy! If you like, add a drizzle of chocolate sauce, fresh fruit, or chocolate chips as a topping.
If you try this recipe, please do leave a comment below. I love hearing about your creations, and it helps me to create more recipes that you’ll love!