Banana Milkshake
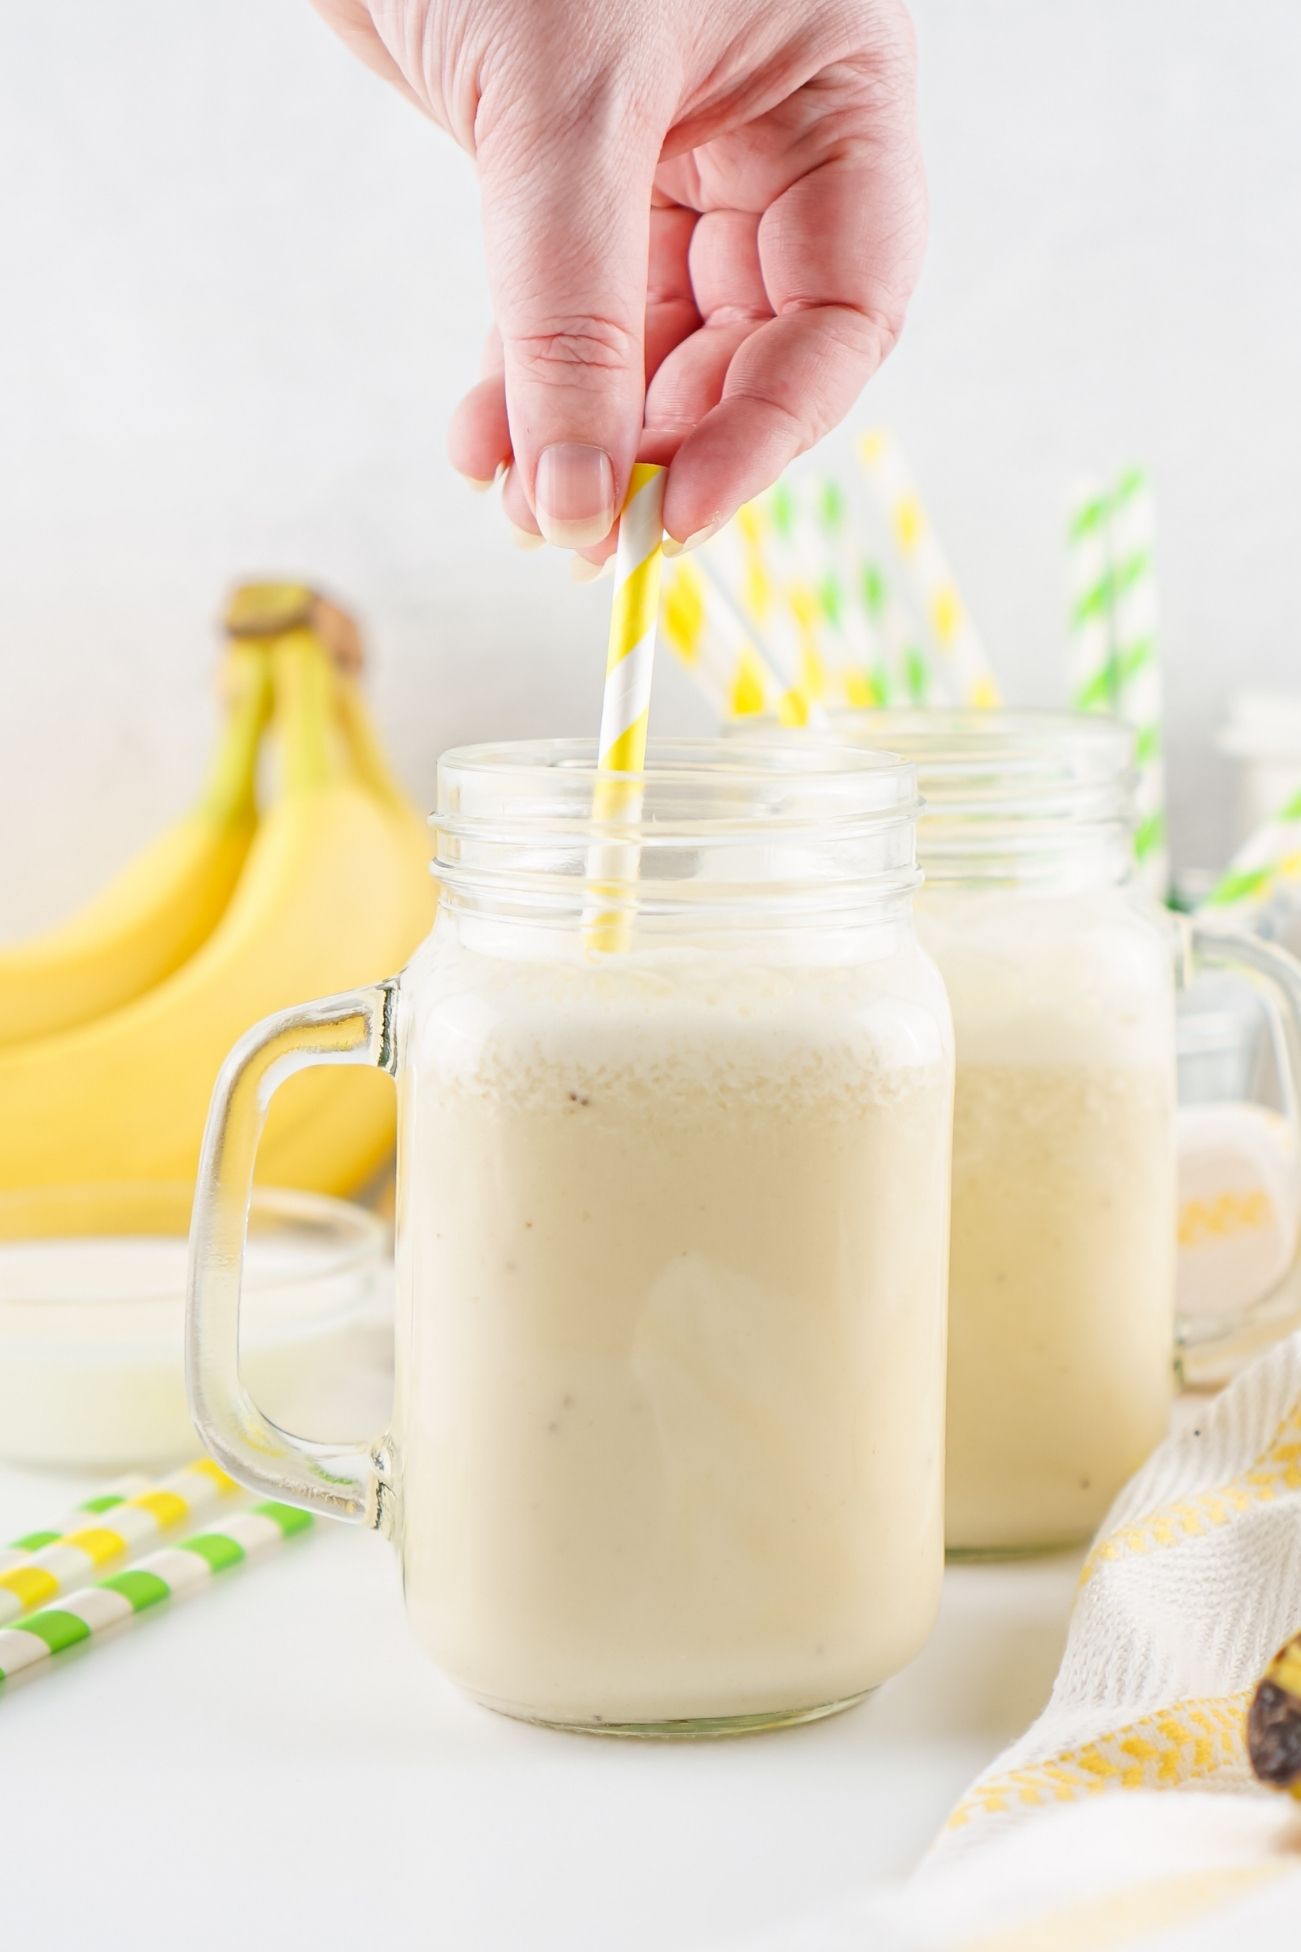
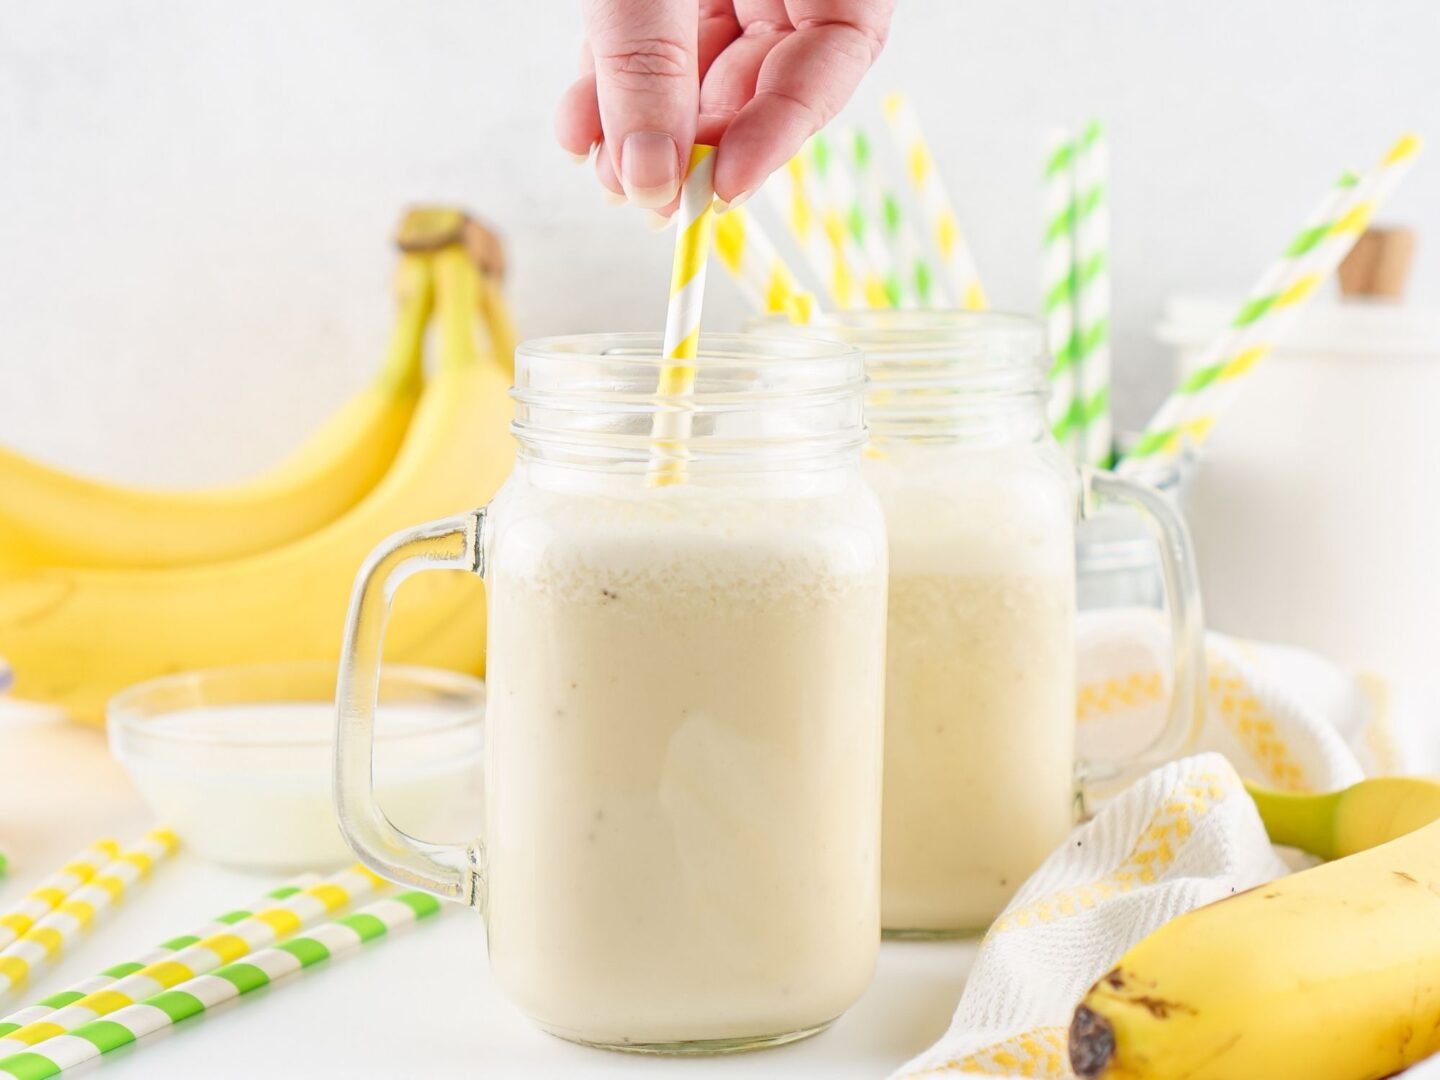
If you’ve been looking for a sweet treat made with simple, natural ingredients, here it is. I’ve been making this easy banana milkshake for literally years now, and it’s one of my favorite ways to use up ripe bananas. It makes a great breakfast or after-school snack for kids, and I firmly believe that it tastes way better than anything you might buy in the grocery store!
- Real ingredients you already have: Bananas, milk, a little maple syrup. Nothing complicated, nothing you have to go out and buy specially
- No weird extras: No artificial sweeteners, no powders, no preservatives. Just simple ingredients you can feel good about
- Naturally sweet: Ripe bananas do most of the work, so it doesn’t rely on a ton of added sugar
- Kid-friendly (and adult-approved): Easy to make, easy to drink, and one of those things everyone actually likes
- Quick and low effort: You can make this in a couple of minutes with almost no cleanup
- Easy to tweak: Thicker, thinner, sweeter, dairy-free – it’s easy to adjust without messing it up
- A good use for overripe bananas: Instead of baking, you can turn them into something you’ll use right away!
What You’ll Need
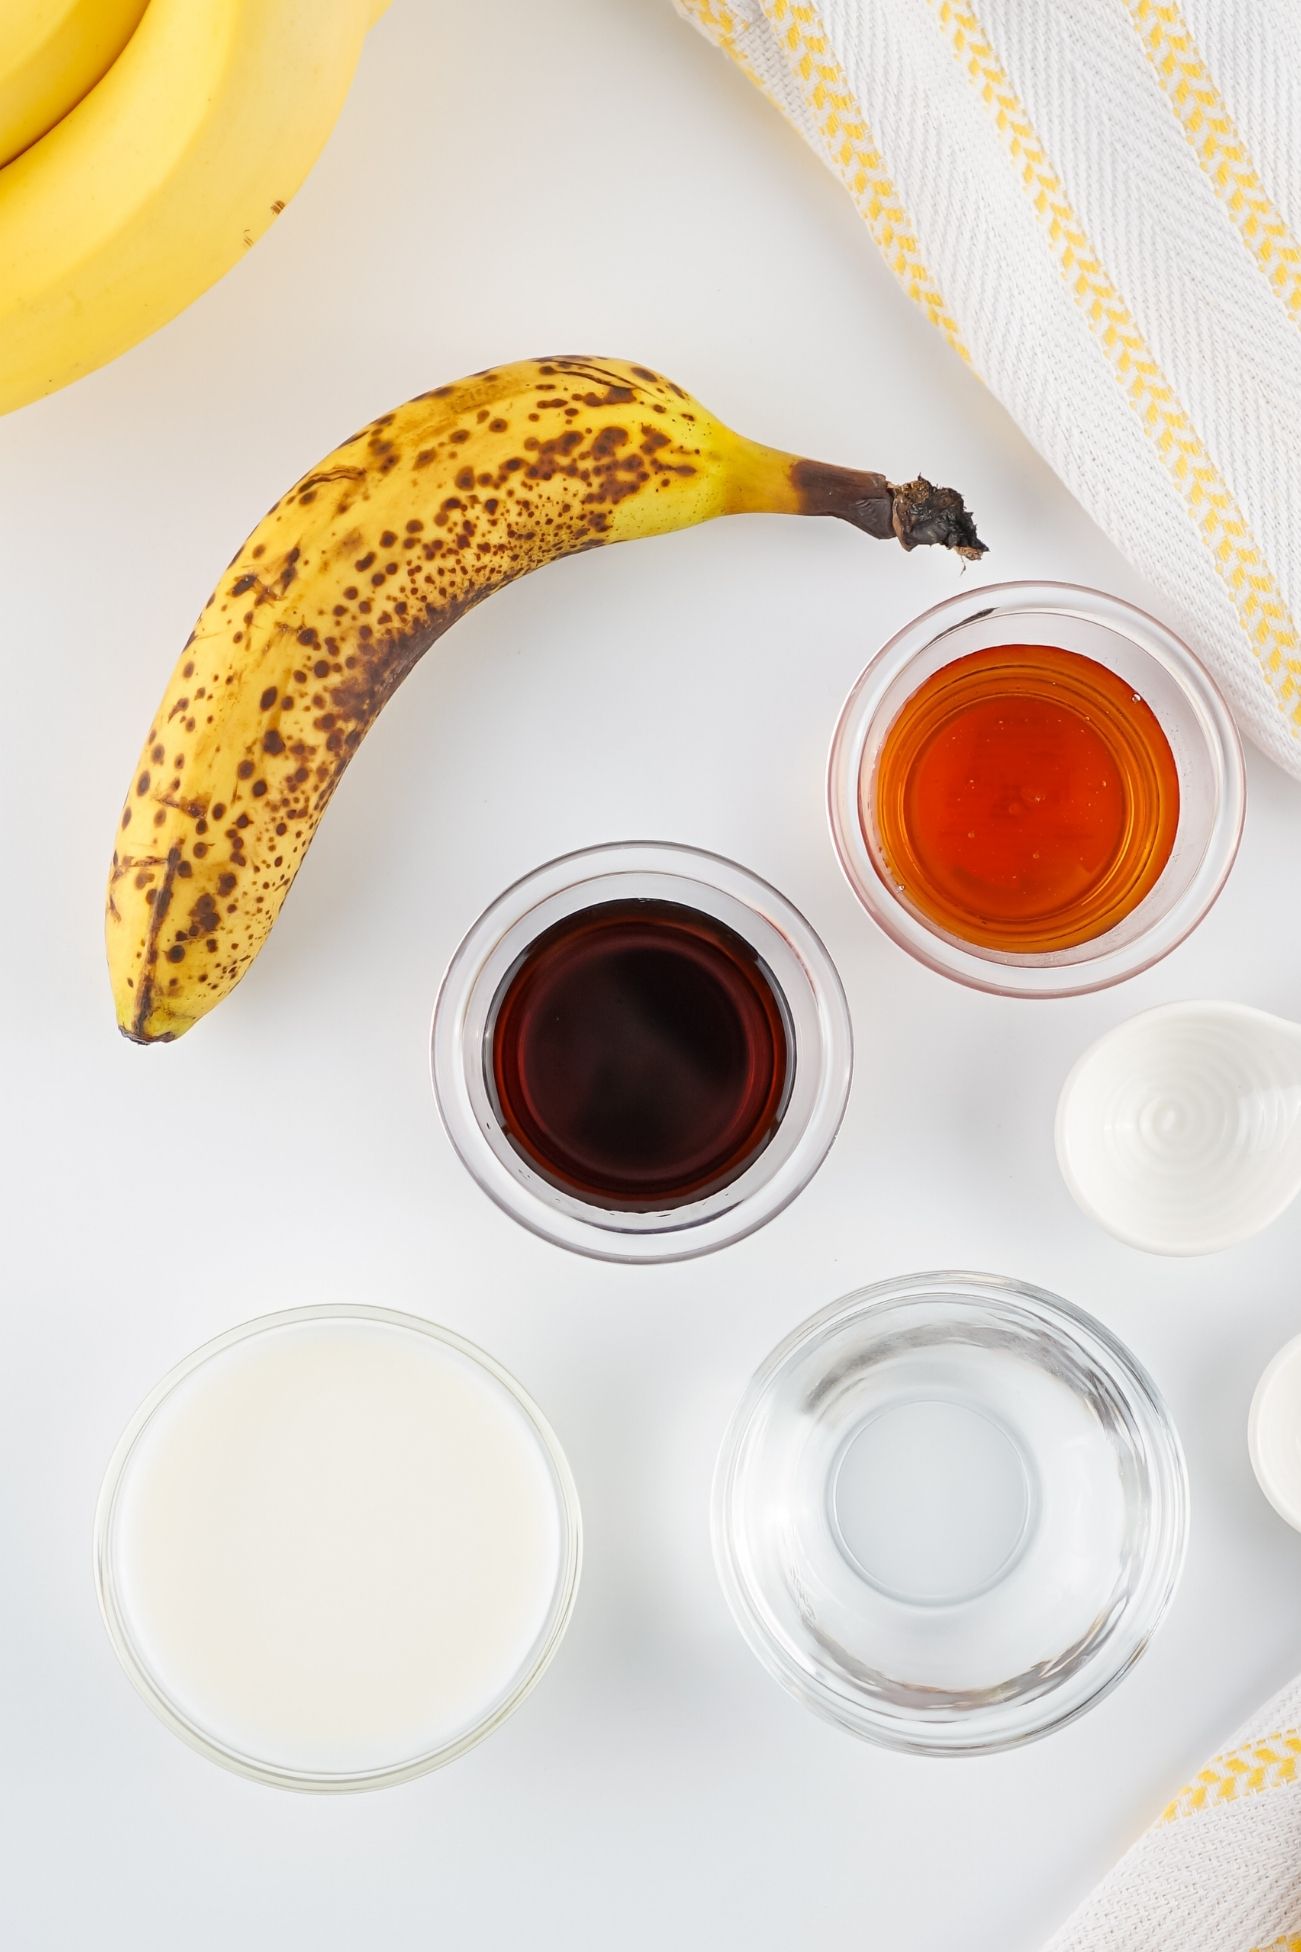
Here I’m explaining more about the ingredients selected and their role in the recipe. For the printable recipe card with the measurements and step-by-step instructions, see the end of this post!
- Ripe bananas: The riper they are, the sweeter and more flavorful your milkshake will be.
- Whole milk: Adds creaminess and gives the shake a richer texture.
- Water: Keeps it from being too thick while still staying smooth and drinkable.
- Maple syrup: Adds a little extra sweetness and a nice depth of flavor.
- Vanilla extract: Rounds everything out and gives it that classic milkshake taste.
How To Make The Best Ever Banana Milkshake
- Add the bananas to the blender, then pour in the remaining ingredients.
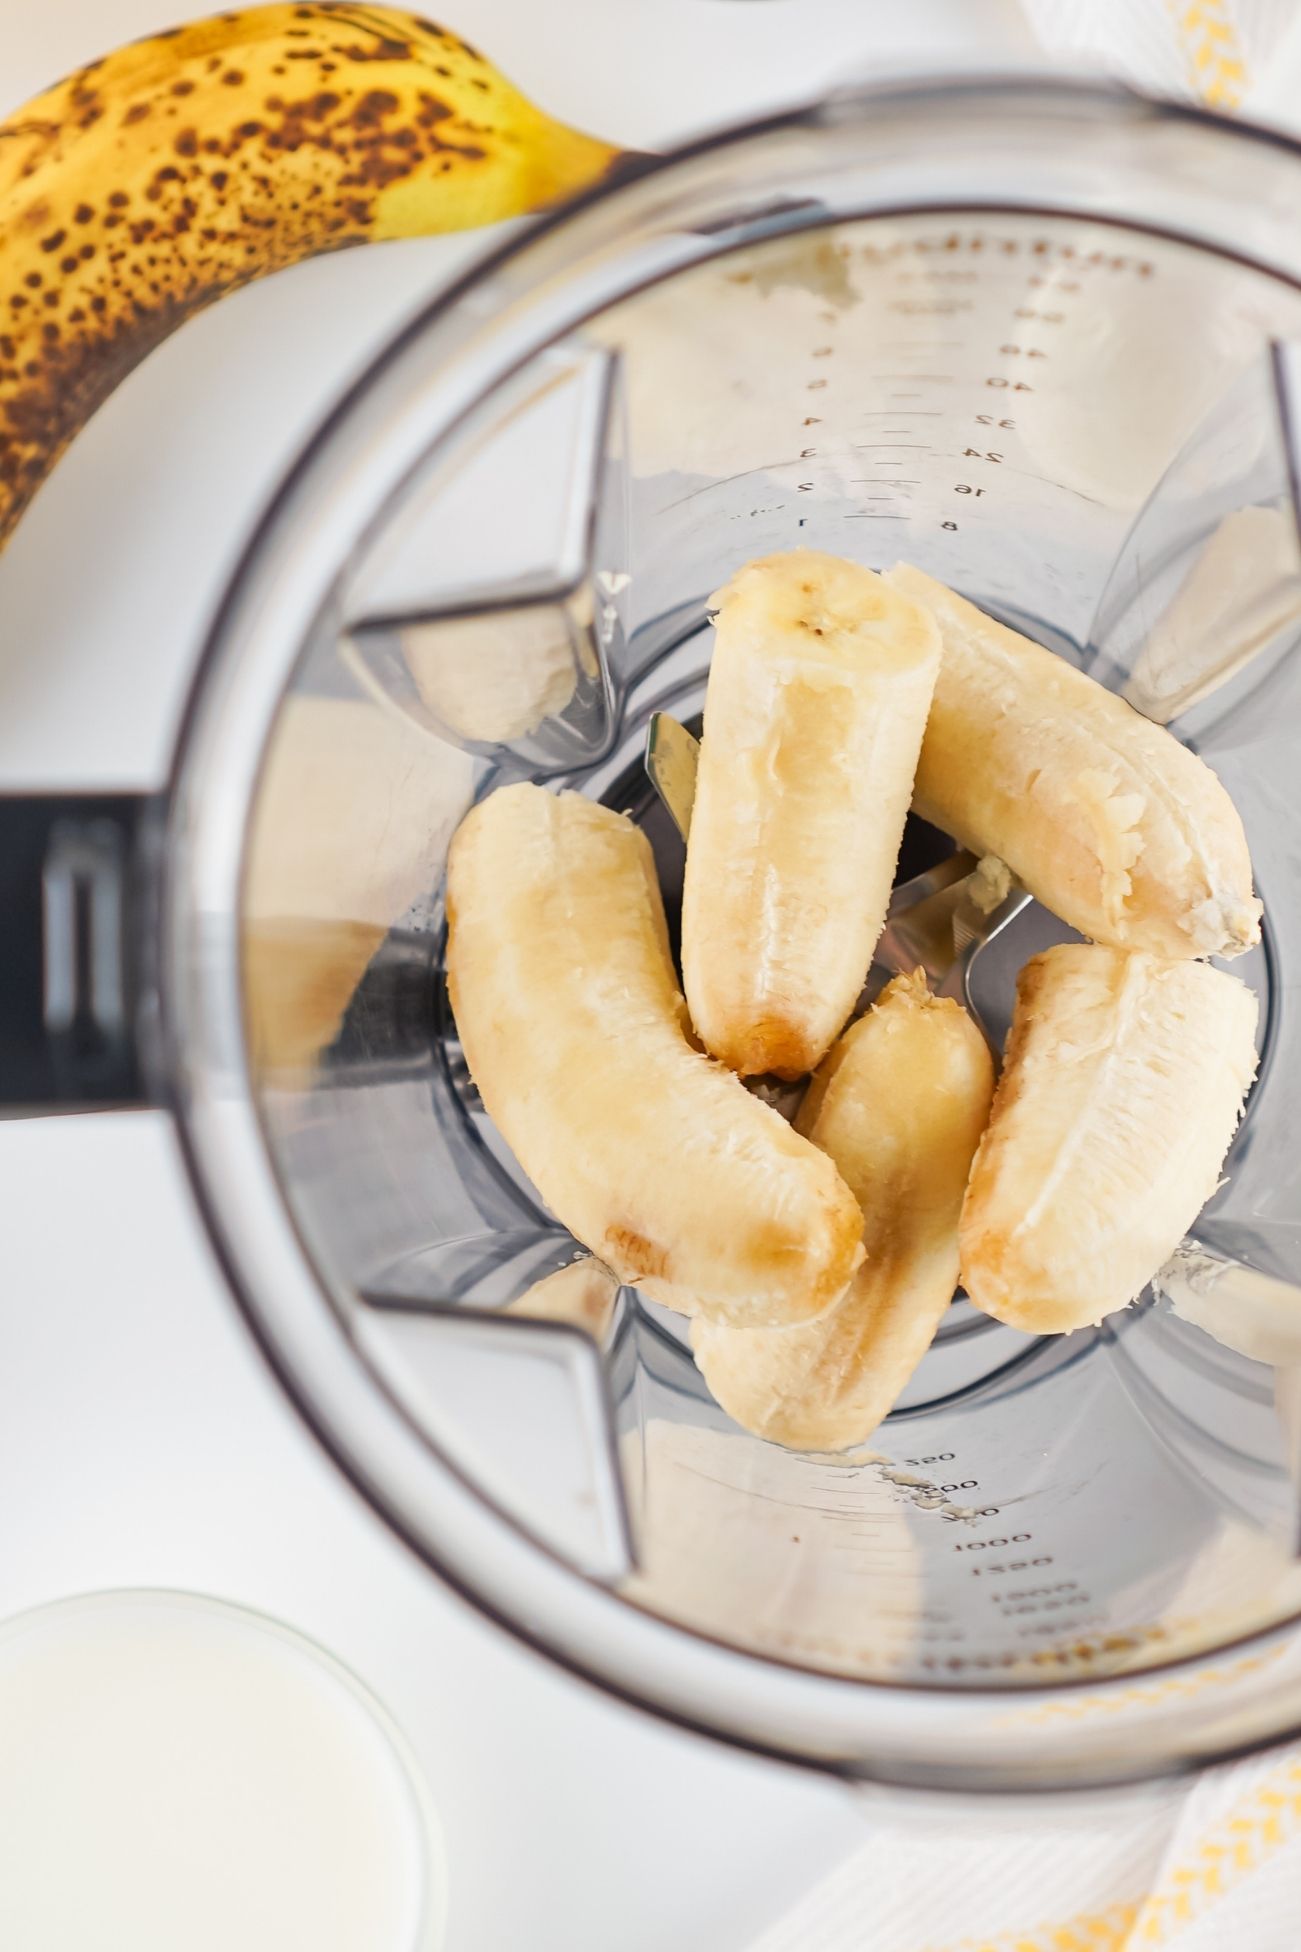
- Blend for about 30 seconds, or until smooth and creamy.
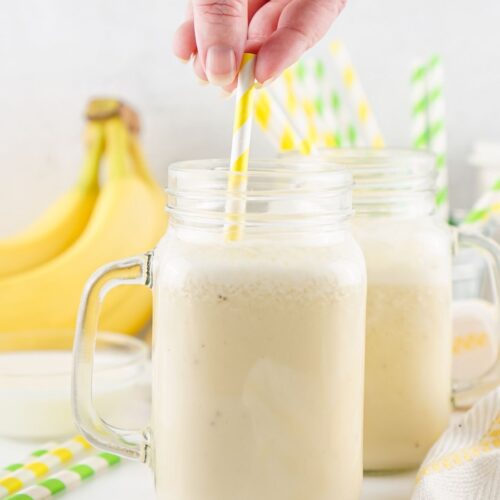
- Pour into a glass and serve right away.
Storage
Store any leftovers in a sealed jar or airtight container in the fridge for up to 2 days. Freezing isn’t recommended, as the texture changes once thawed. For the best flavor and texture, it’s definitely best enjoyed right after blending.
Recipe Notes
- Use ripe bananas: This really matters! Ripe bananas are softer, sweeter, and blend much more smoothly. If your bananas are still firm and pale, the shake won’t have the same flavor or texture.
- Adjust the thickness: Add a little more milk for a thinner shake, or use less liquid if you want it thicker.
- Swap the milk: You can use any milk you like. Dairy, almond, oat, or soy all work well.
- Change the sweetener: Maple syrup adds a nice flavor, but you can use honey, agave, or any sweetener you prefer.
- Add extras: Peanut butter, cocoa powder, or a scoop of protein powder are easy ways to change it up.
Serving Notes
Pour it into a cold glass and drink it straight. That’s how I usually have it!
If you want to make it feel a bit more like a treat, top it with a little whipped cream or a sprinkle of cinnamon. You can also blend in a spoonful of peanut butter or a handful of chocolate chips if you want to switch things up.
It’s great as a quick breakfast, an afternoon snack, or something easy for kids.
Banana Milkshake
Ingredients
- 2 ripe bananas
- 1 cup whole milk
- 1 cup water
- 2 tablespoons real maple syrup
- 1 teaspoon vanilla extract
Instructions
- Add the bananas to the blender, then pour in the remaining ingredients.
- Blend for about 30 seconds, or until smooth and creamy.
- Pour into a glass and serve right away.
Have you tried this one? Leave a comment below and share your thoughts! It means so much to me, and it also helps other readers who might have just discovered this recipe for the first time.